Boeing B-17 Flying Fortress
Walk Through
This
is a walk through of the Boeing B-17 Flying Fortress. There are shots
from 4 different B-17s used for this series. We will start from the
front of the aircraft, as if you are entering from the crew door at the
front of the aircraft
This first picture is a composite of 3
different pictures that are blended together to give a more wide angle
view of the nose positions. The chair in the picture is for the
bombardier. He would be manning guns when not on the bomb run.

This is the navigator's position. He
would also help man the guns in the nose.

From the access 'tunnel', looking up at
the pilot control panel and flight yoke.

This is one of the fuse panels in the
cockpit that would be accessible by the flight engineer.

Into the cockpit of the Flying
Fortress. The first shot is the cockpit, and the second is the view
from the cockpit. Notice that the astro-dome, used by the navigator for
taking sextant measurements and the antenna are clearly visible to the
pilot and co-pilot. Overall visibility from the cockpit was pretty good.


There is only a narrow walkway through
the bomb-bay. Here is a view looking aft, toward the radio compartment.
This Fortress is carrying fake high explosive bombs.


These next 2 shots are looking toward
the front of the aircraft, the lower picture while standing on the
ground, looking up into the bomb-bay. The 2 circular arrows are the
receptacles for the hand crank to lower the main landing gear in case
of hydraulic failure.


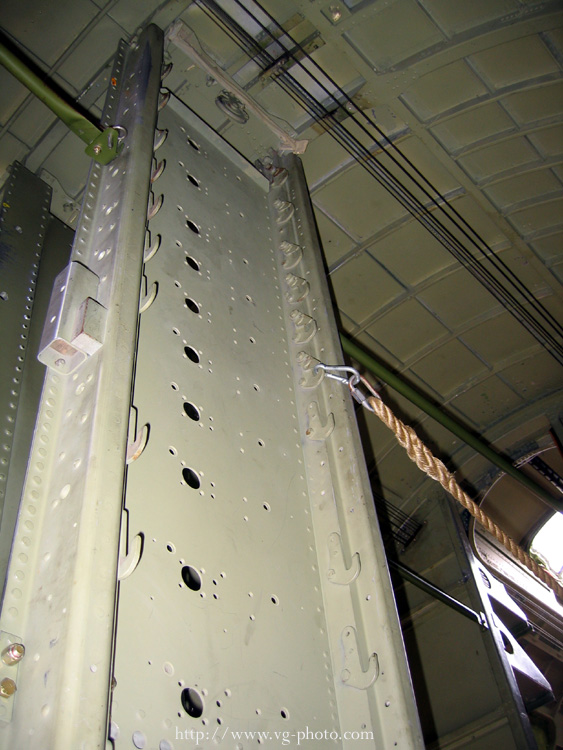
Here is a shot of the bomb racks empty.